
Or, as Crockett calls it, the “Brown Gold Cadillac.” I’ve never waxed poetic about poop and compost before, but if it will help our plants grow, I’m more than happy to call it brown gold. This composter is easy, cheap to build, and good at turning plant waste into fertilizer.
I didn’t follow Crockett’s measurements because I wanted to make use of some pressure treated boards I had on hand. My composter ended up a little smaller than his, but it works just fine in our garden and we’ll still have more than enough compost.
Materials:
- 2″ x 4″ x 8′ pressure treated boards (7)
- 2″ x 4″ x 12′ pressure treated board (1)
- 1″ x 4″ x 6′ pine boards (3)
- 1″ x 6″ x 6′ cedar board (9)
- 36″ x 20′ length of wire fencing
- 2 1/2 inch screws (lots)
- Roofing nails (also lots)
- Galvanized staples (lots and lots)
Step 1: Measure and Cut
 Cut your 2″ x 4″ pressure treated boards to size. You’ll need eight 30″ lengths and eight 36″ lengths for the dividers. I did this by cutting four 8′ boards into two 30″ lengths and a 36″, then cutting the 12′ board into four 36″ lengths.
Leave three of your 8′ boards intact. These will be used to form the base and the the top to hold the whole thing together.
Leave your cedar boards alone for now, you’ll want to cut them after you put the whole thing together and can measure the gaps. This will account for differences in the bin sizes.
Step 2: Build the Dividers
 Build your dividers. Each square is made of two 30″ lengths as the sides and two 36″ lengths as the top and bottom. Crockett says this will help protect the joints from weather and it lends your whole structure some extra stability.
Screw the boards together to form four squares.
 Staple wire fencing to one side of each square. Unroll the fencing onto the square and cut the edge using wire snips. Staple the fencing to square. My theory is that staples are cheap, so go nuts. Better to have it strong now than have to fix it later.
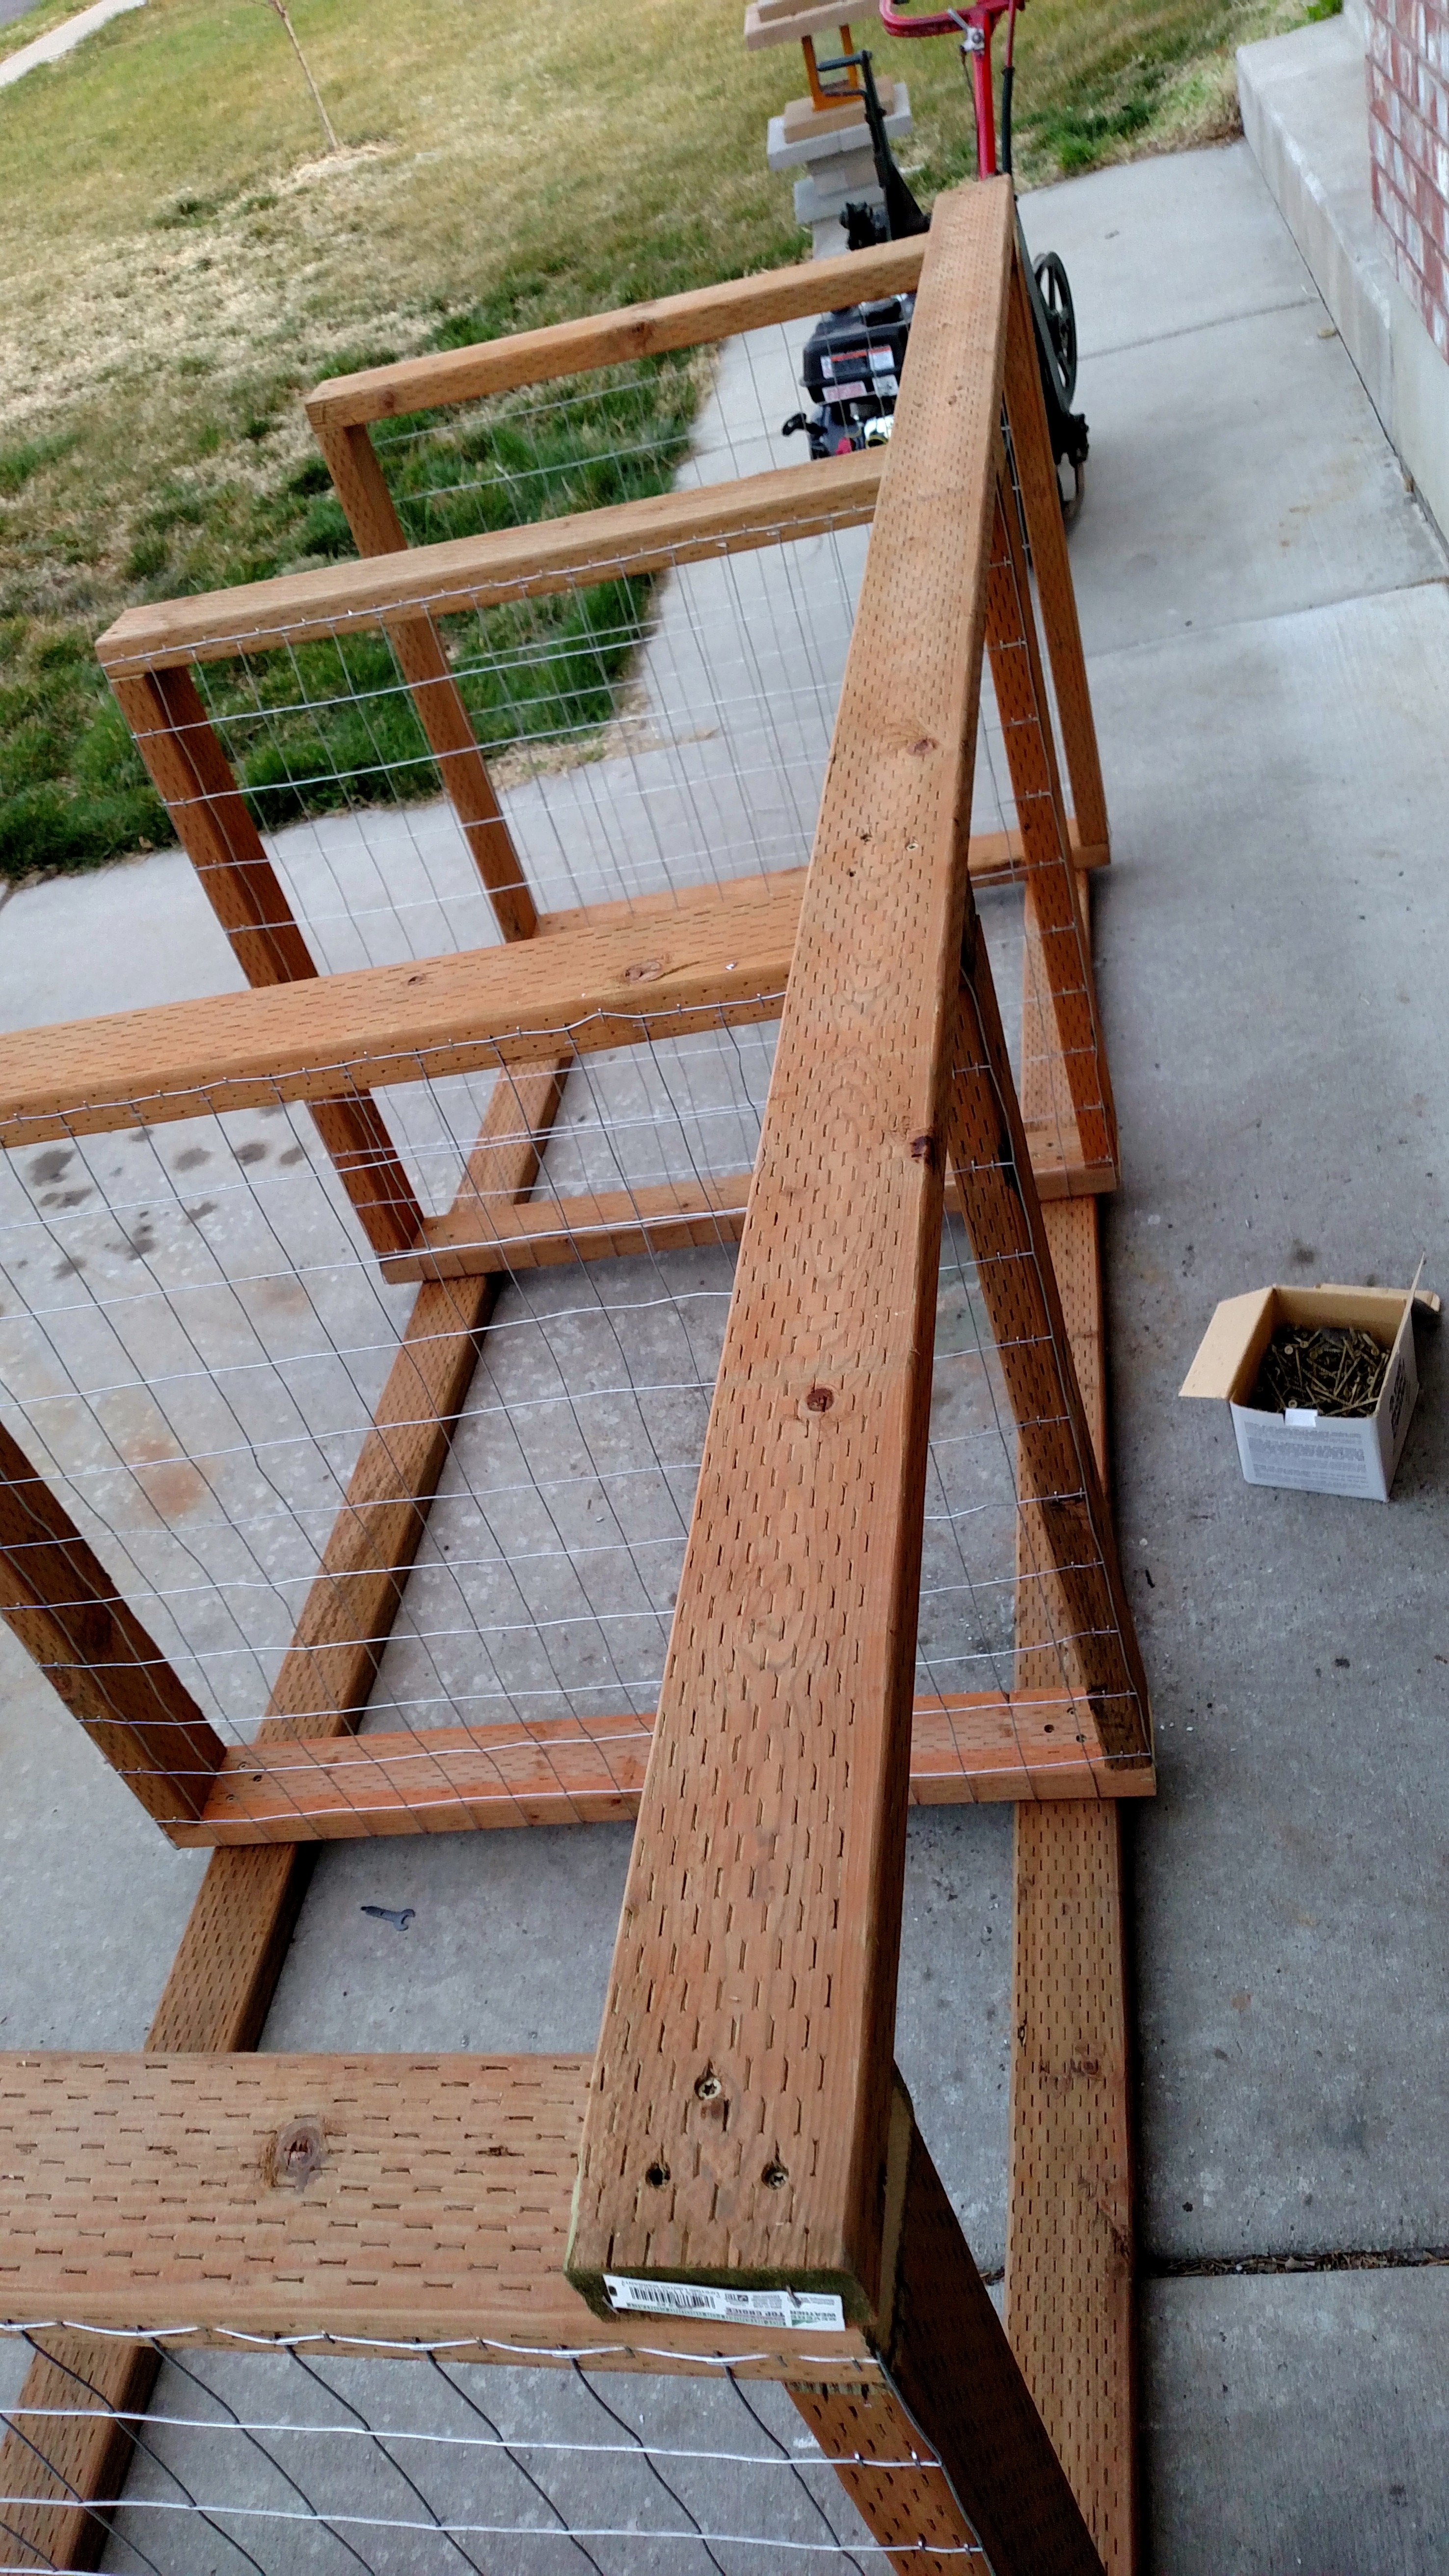
Step 3: Assemble the Structure
 Lay two of the 8′ pressure treated boards parallel to each other on the ground. Crockett says to put them 33″ apart, which would put them just inside the upright boards of each square, which I did. In retrospect, there isn’t really any reason not to just square them up with the uprights. This would also make it easier to line things up.
Measure each board and mark the three sections. Draw lines 32″ apart on each board and you’ll have your compartments.
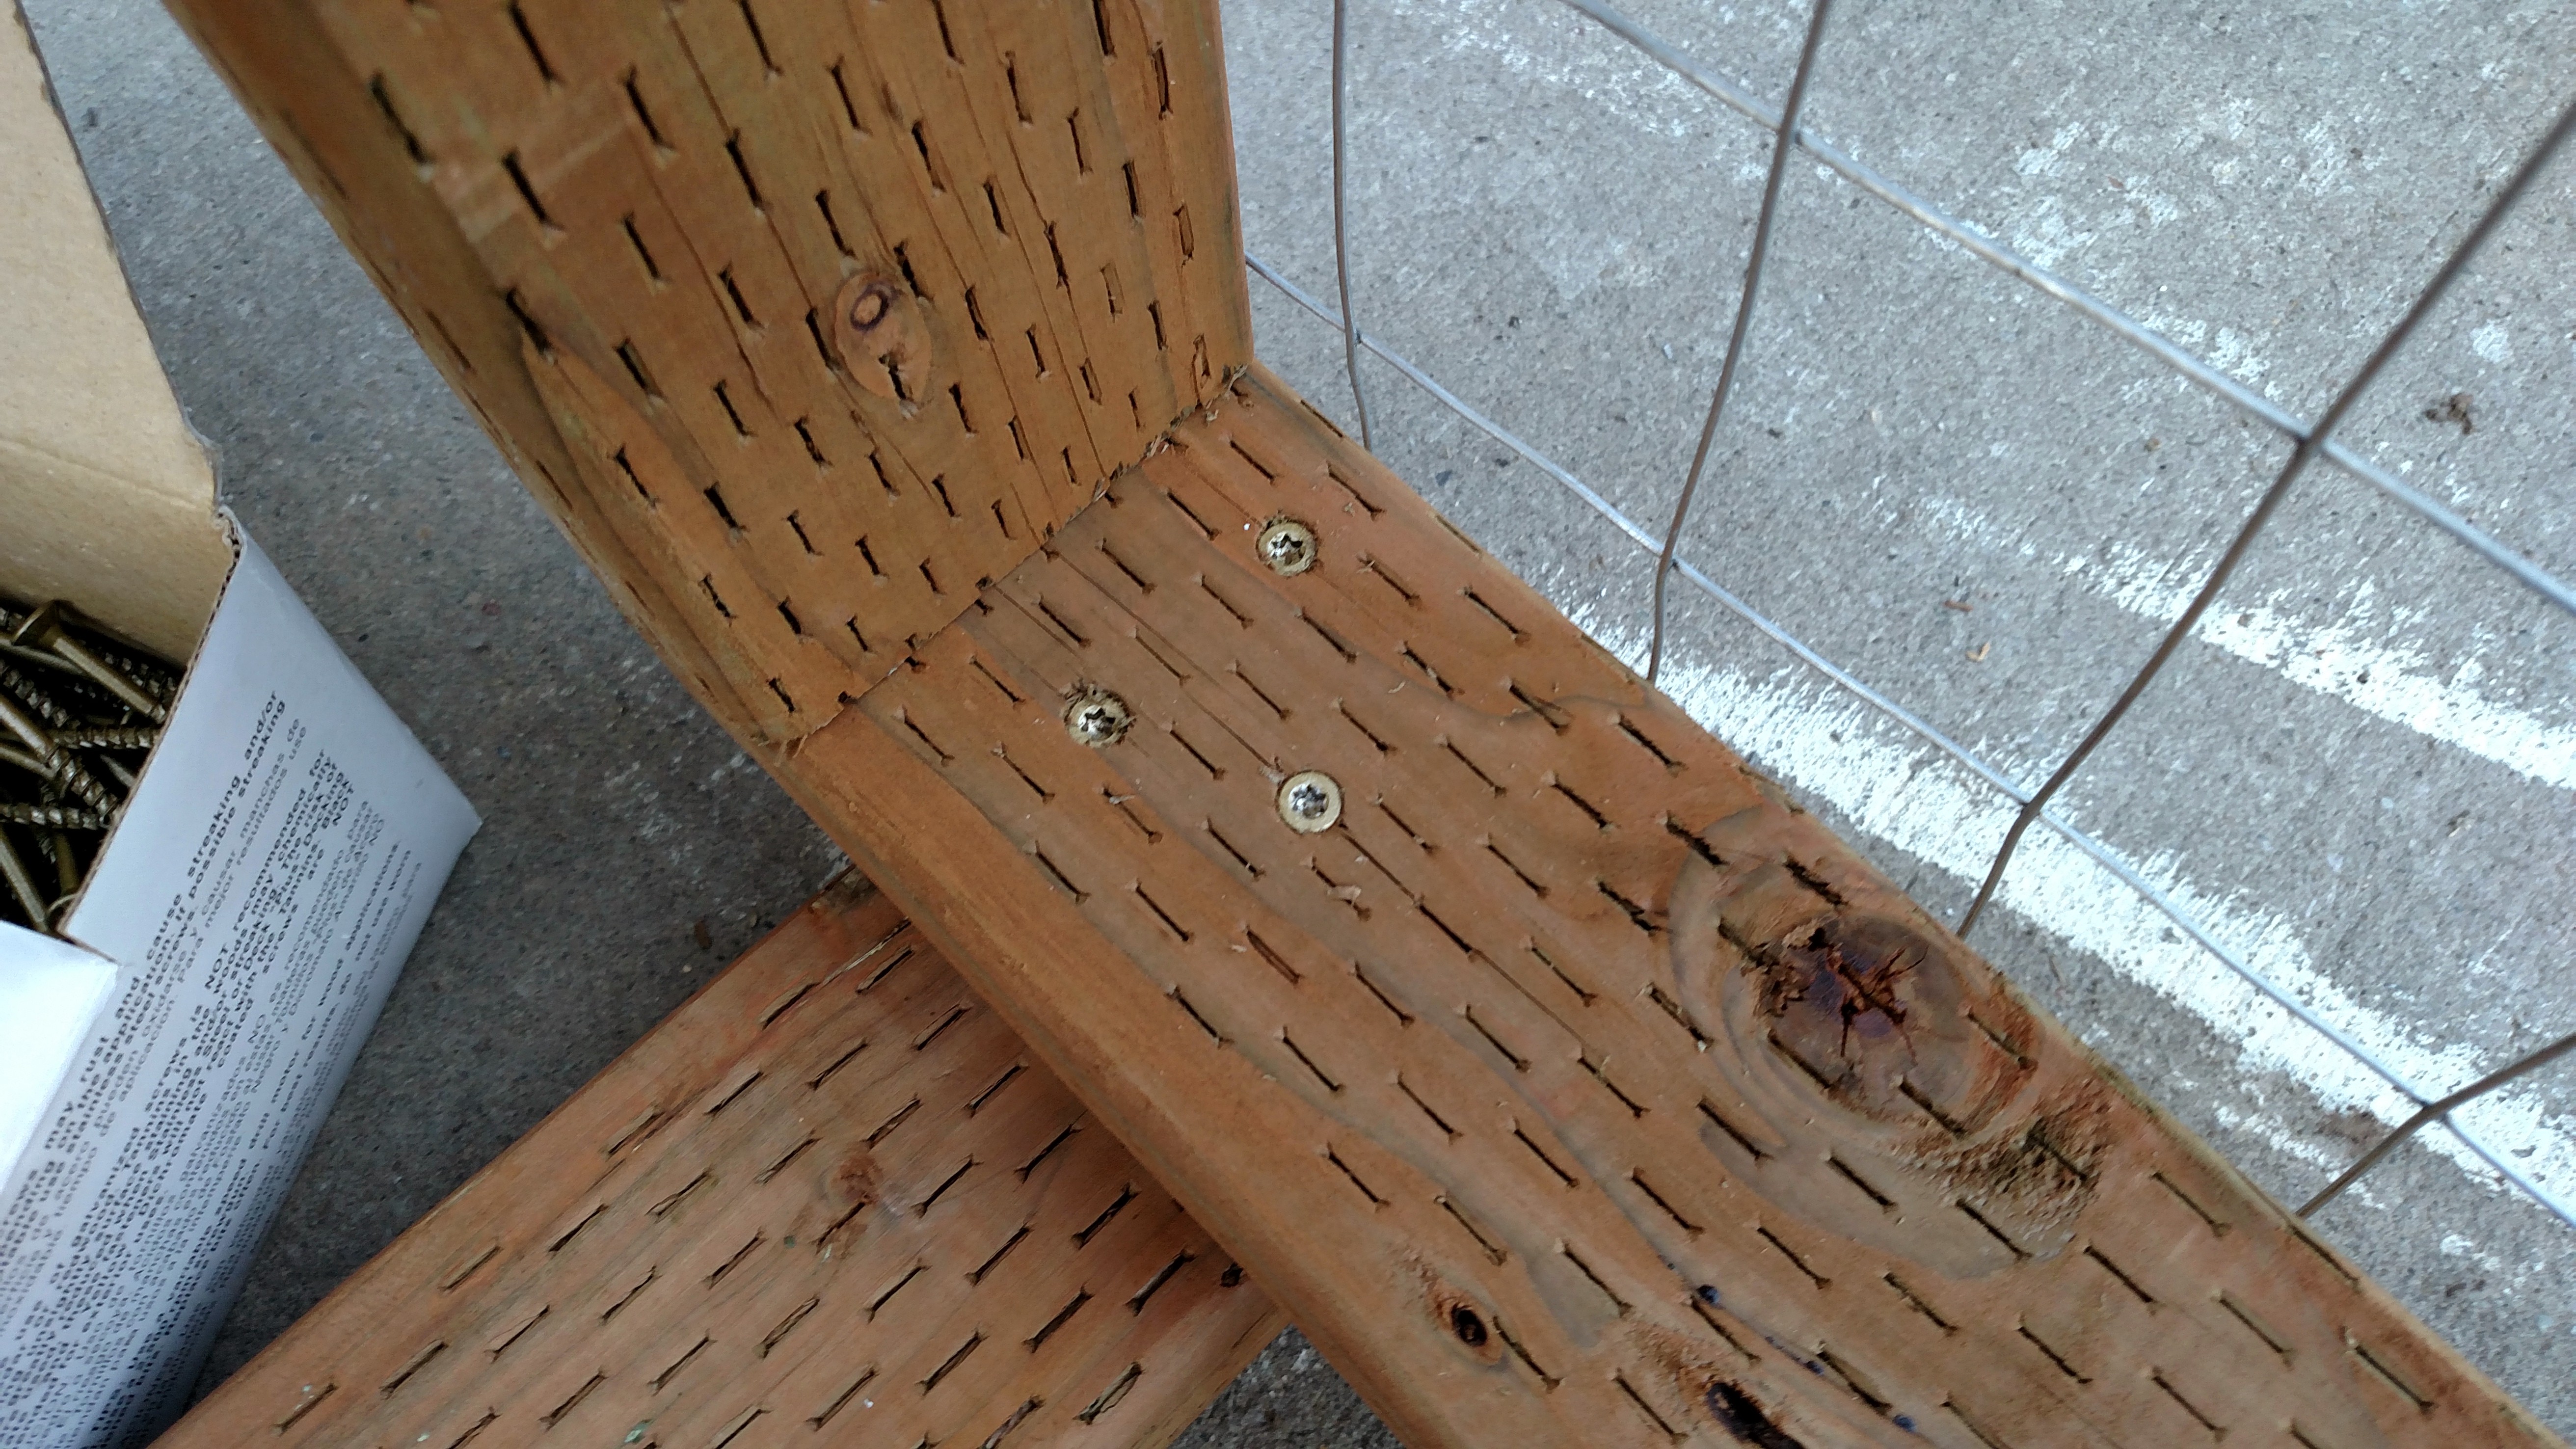
 Screw the two outside squares down into the bottom boards. Turn the dividers so the wire fencing faces out.
It doesn’t matter which way the wire faces on your two interior dividers, just line them up on your marks on each board so they’ll be even.
I used three screws on each side of the dividers to hold them in place.
Finally, put the last 8′ board across the top of the back of your composter and screw it down into each divider.
Step 4: More Fencing
Add the fencing to the back of your composter. I unrolled and stapled as I went. Again, you can never have too many staples.
 Step 5: Set up your Front Slats
Crockett says to use a table saw to cut 2″ x 4″s into L and T shapes to make room for slats, but I found it much easier to use 1″ x 4″ pine boards to have the same effect.
Cut each 6′ board into two 3′ lengths.
Take two of these 3′ lengths and rip them down the center so you have four 1″ x 2″ x 3′ lengths. These will be used to make a track for your front slats.
 Attach the pine boards to the front of your composter to make your slat tracks. I held the two layers up together and screwed them both in at the same time. If you’d rather, you can screw the 1″ x 2″ boards in first and then screw the 1″ x 4″s over them.
The outsides edges should have an L shape facing inward, so line your 1″ x 2″s up with the outside edges. For the interior boards, put the 1″ x 2″s in the center of the board so there is a space on either side.
You’re ready to measure and cut your cedar board into slats. Measure the space between 1″ x 2″ boards to figure out how wide your slats need to be. Cut them just under the full length so they will slide easily. Odds are your slats will be about the same width as your track, so use a file or grinder to make the edges narrower so they’ll fit.
 You’ll need at least eighteen slats to cover all three bins, but I just made a few and figured I’d make more as I needed them.
Once your slats are cut to size and slide easily into your tracks, you’ll want to put nails in as spacers (your compost will need lots of air). Pound two to three roofing nails partway into the bottom edge of each board so the board will sit evenly about 1/2″ to 1″ above the ground or the board beneath it.
Step 6: Compost
Set up your Brown Gold Cadillac somewhere in or near your garden with plenty of sun and easy access. Here’s ours up against the wall on the west side of our garden, ready to make lots of fertilizer for our plants. Happy composting!

